What is a prototype? A guide to design prototypes effectively
In the world of design and development, a prototype is the bridge between an idea and a final product. It’s a preliminary version of a product that allows designers to visualize, test, and refine their concepts before committing to full-scale production. Whether you’re designing a mobile app, a website, or a physical product, prototyping is a critical step in the design process. This blog will guide you through what a prototype is, why it’s important, the types of prototypes, the tools to create them, and how to design prototypes effectively - especially using Figma, one of the most popular prototyping tools today.
What is a Prototype?
Prototyping is a widely used method in today’s product development process. Essentially, a prototype is a simulation of the final product, used to gather feedback or conduct testing. It enables designers and product teams to quickly refine and improve solutions based on insights gained from user interactions
Why Do We Need a Prototype?
Prototype serves as a powerful tool to transform ideas into solutions. But why exactly is it so crucial? Let’s explore the key reasons:
- Early Feedback: Prototypes allow designers to gather feedback and align the design direction with stakeholders before investing too much time in the wrong direction. This ensures that the final product aligns with user needs and expectations.
- Problem Identification: By testing a prototype, designers can identify potential issues or areas for improvement before investing time and resources into development.
- Communication Tool: Prototypes act as a visual communication tool, helping designers, developers, and stakeholders stay on the same page.
- Cost and Time Efficiency Fixing issues during the prototyping phase is far less expensive and time-consuming than making changes after development has begun.
- User-Centered Design: Prototyping ensures that the final product is user-friendly and meets the needs of its target audience.
Types of Prototypes
Prototypes can be categorized into two main types: low-fidelity and high-fidelity.
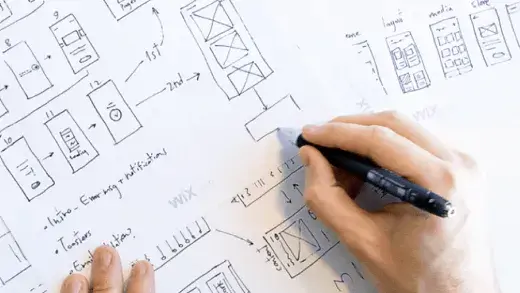
Low-Fidelity Prototypes
- Definition: A low-fidelity prototype is a basic, low-cost representation of a design with limited functionality and minimal visual detail. It focuses on core user flow, page transitions, and design logic, helping teams gather quick feedback in the early project stages and explore multiple ideas efficiently.
- se Cases: Ideal for early-stage ideation and quick concept validation.
- Pros: Fast to create, cost-effective, and easy to modify.
- Cons: Limited interactivity and less detail.
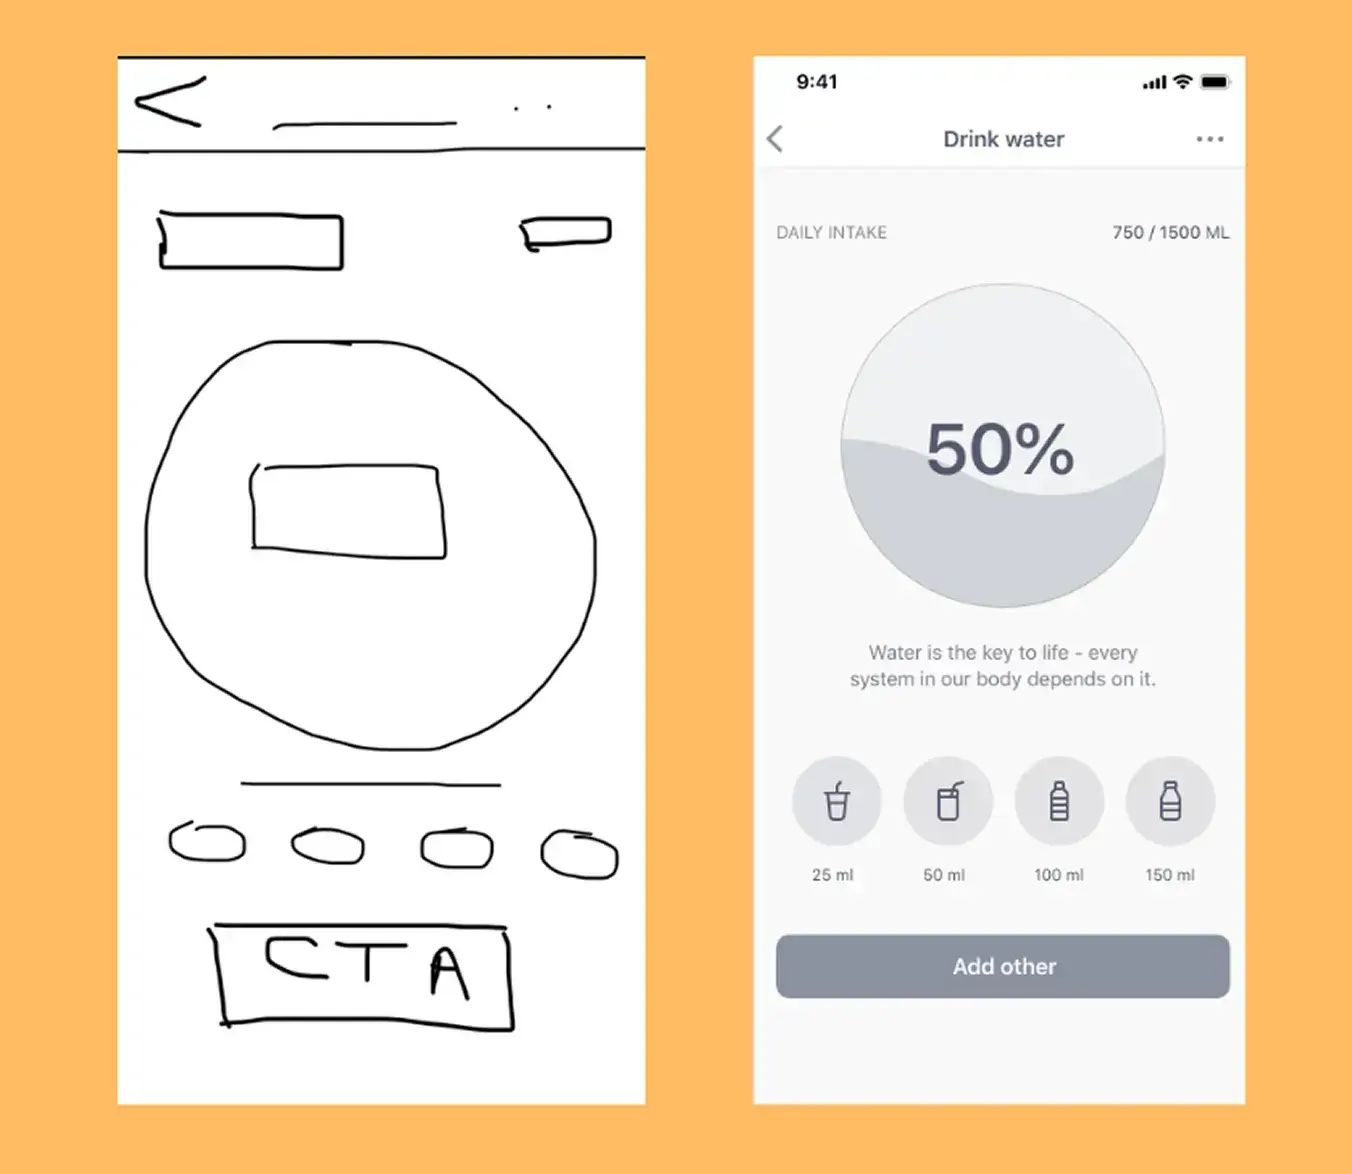
High-Fidelity Prototypes
- Definition: A high-fidelity prototype is a detailed, interactive representation that closely resembles the final product. It’s used for user testing to validate features, identify usability issues, and gather in-depth feedback.
- se Cases: Used for user testing, stakeholder presentations, and final design validation.
- Pros: F: Realistic, interactive and provides a clear vision of the final product.
- Cons: Time-consuming and requires more resources.
Some Tools to Design Prototypes
There are numerous tools available for designing prototypes, each with its strengths. Here are a few popular ones:
- Figma: A cloud-based design tool known for its collaboration features, versatility, and ease of use. Figma is widely used for both low-fidelity and high-fidelity prototyping.
- Adobe XD: A tool for designing and prototyping user experiences, particularly popular among Adobe users due to its integration with other Adobe Creative Cloud apps.
- Sketch: A vector-based design tool favored by UI/UX designers for its simplicity and robust plugin ecosystem. It is best for designers who prefer a lightweight, Mac-only tool with a focus on UI/UX design.
- InVision: A prototyping tool that integrates seamlessly with other design platforms, making it a favorite for collaborative projects.
- Axure RP: A powerful tool for creating complex, interactive prototypes, often used for advanced user testing.
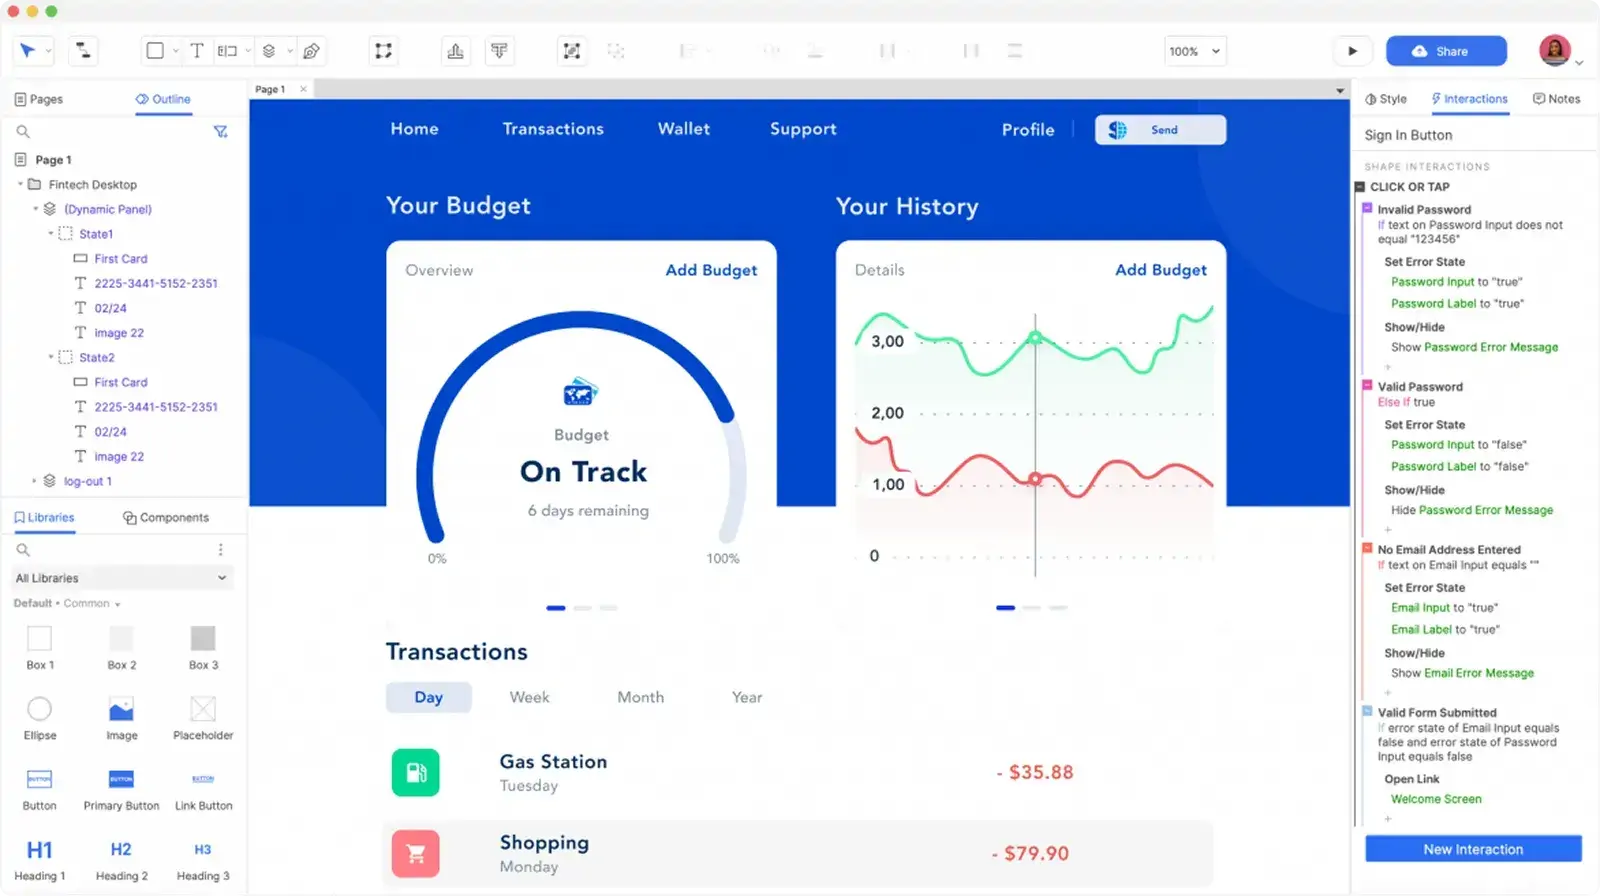
Among these, Figma stands out as the most popular and widely used tool due to its collaborative features, real-time editing, and versatility.
How to Design Prototypes Effectively (Especially in Figma)
Designing a prototype effectively requires a structured approach. Here’s a step-by-step guide with a focus on using Figma:
Step 1: Define the Goal
List the target users of your prototype, such as a focus group for usability testing, stakeholder parties for presentations, and others for concept validation. Defining the goal will guide your design process.
Step 2: Start with Low-Fidelity
Use wireframes or basic layouts to begin building the structure for your designs. Figma’s wireframe kits make creating low-fidelity prototypes easy and quick.
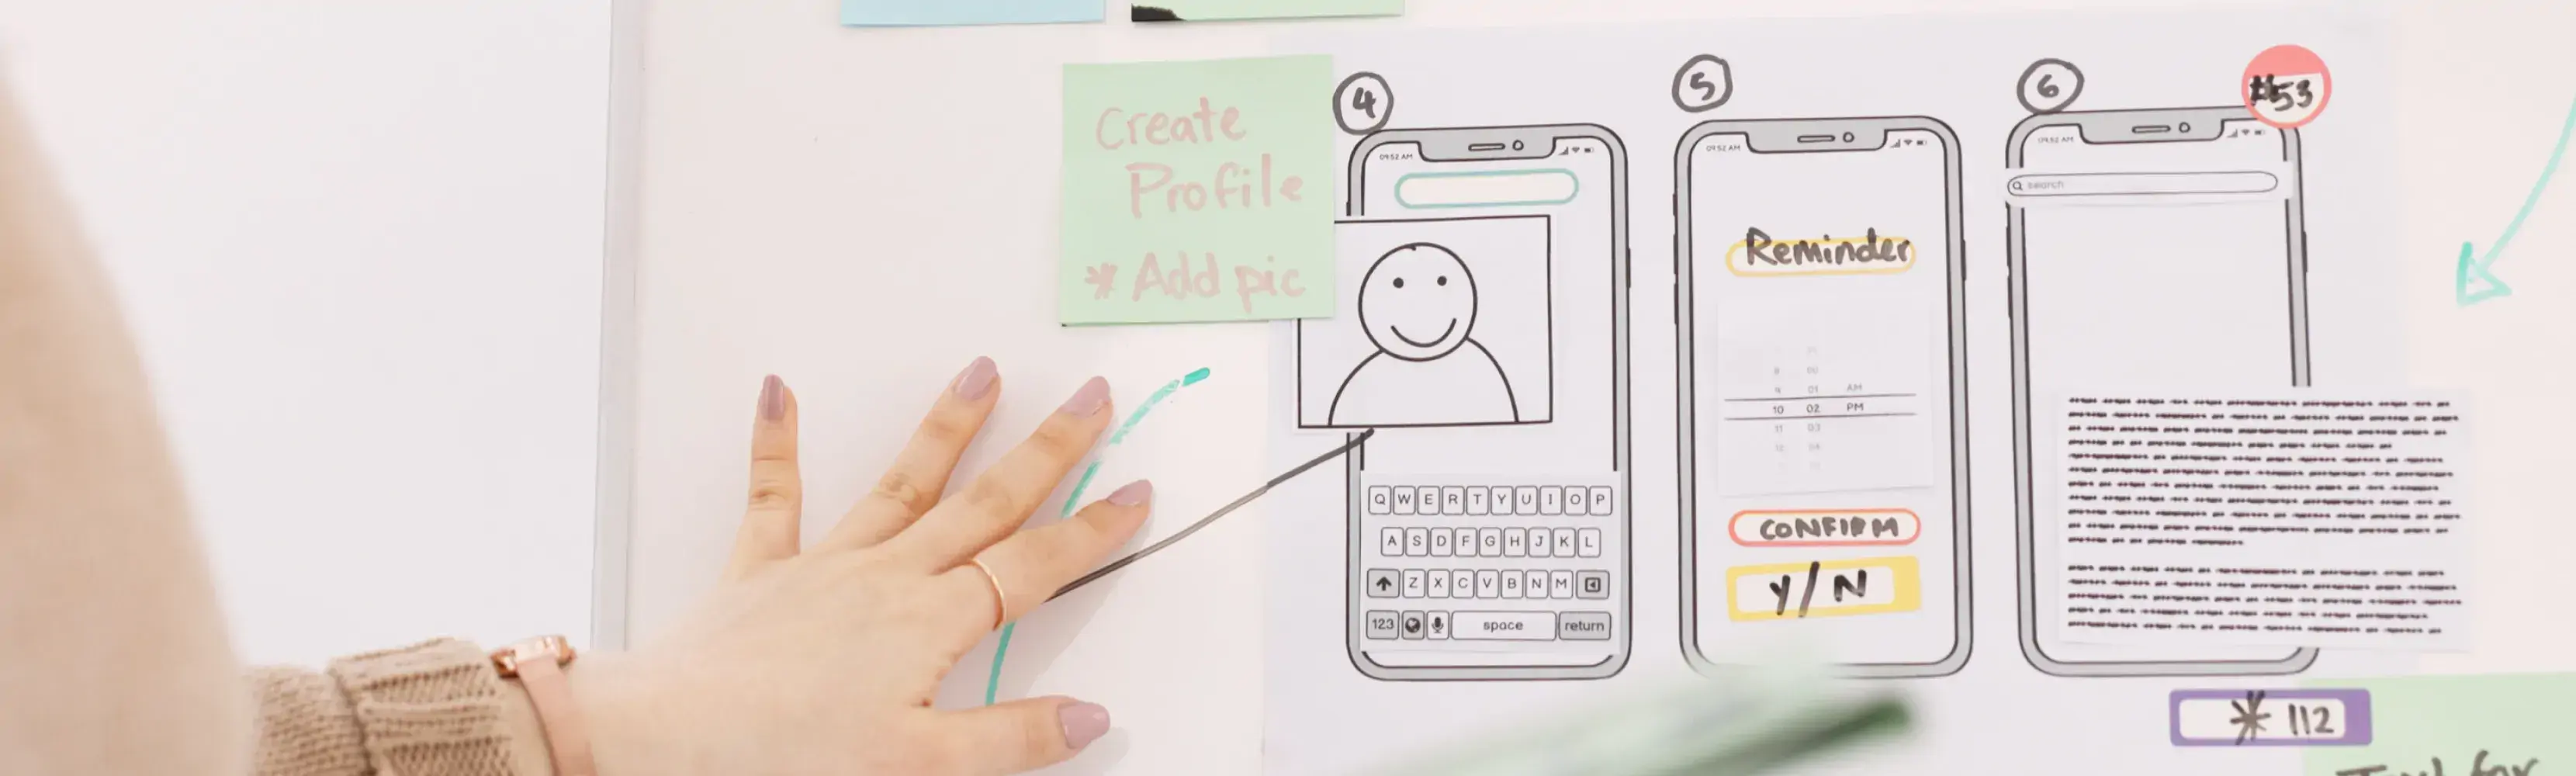
Step 3: Gather Feedback
Send the prototype to users or stakeholders to get their insights. Use Figma to add comments for the team and allow them to suggest edits to the prototype.
Step 4: Move to High-Fidelity
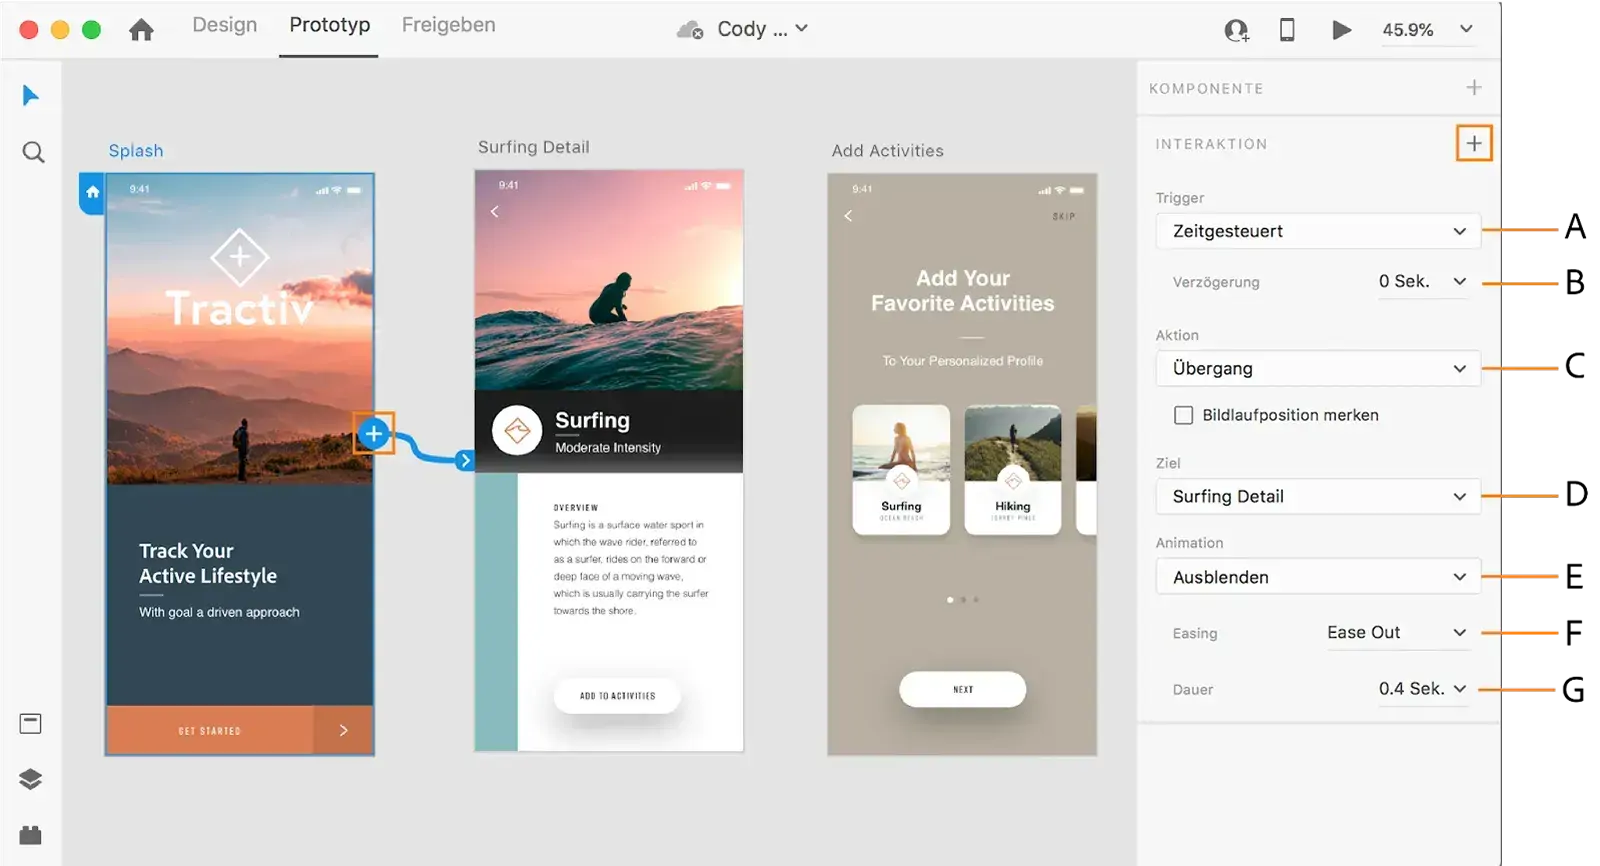
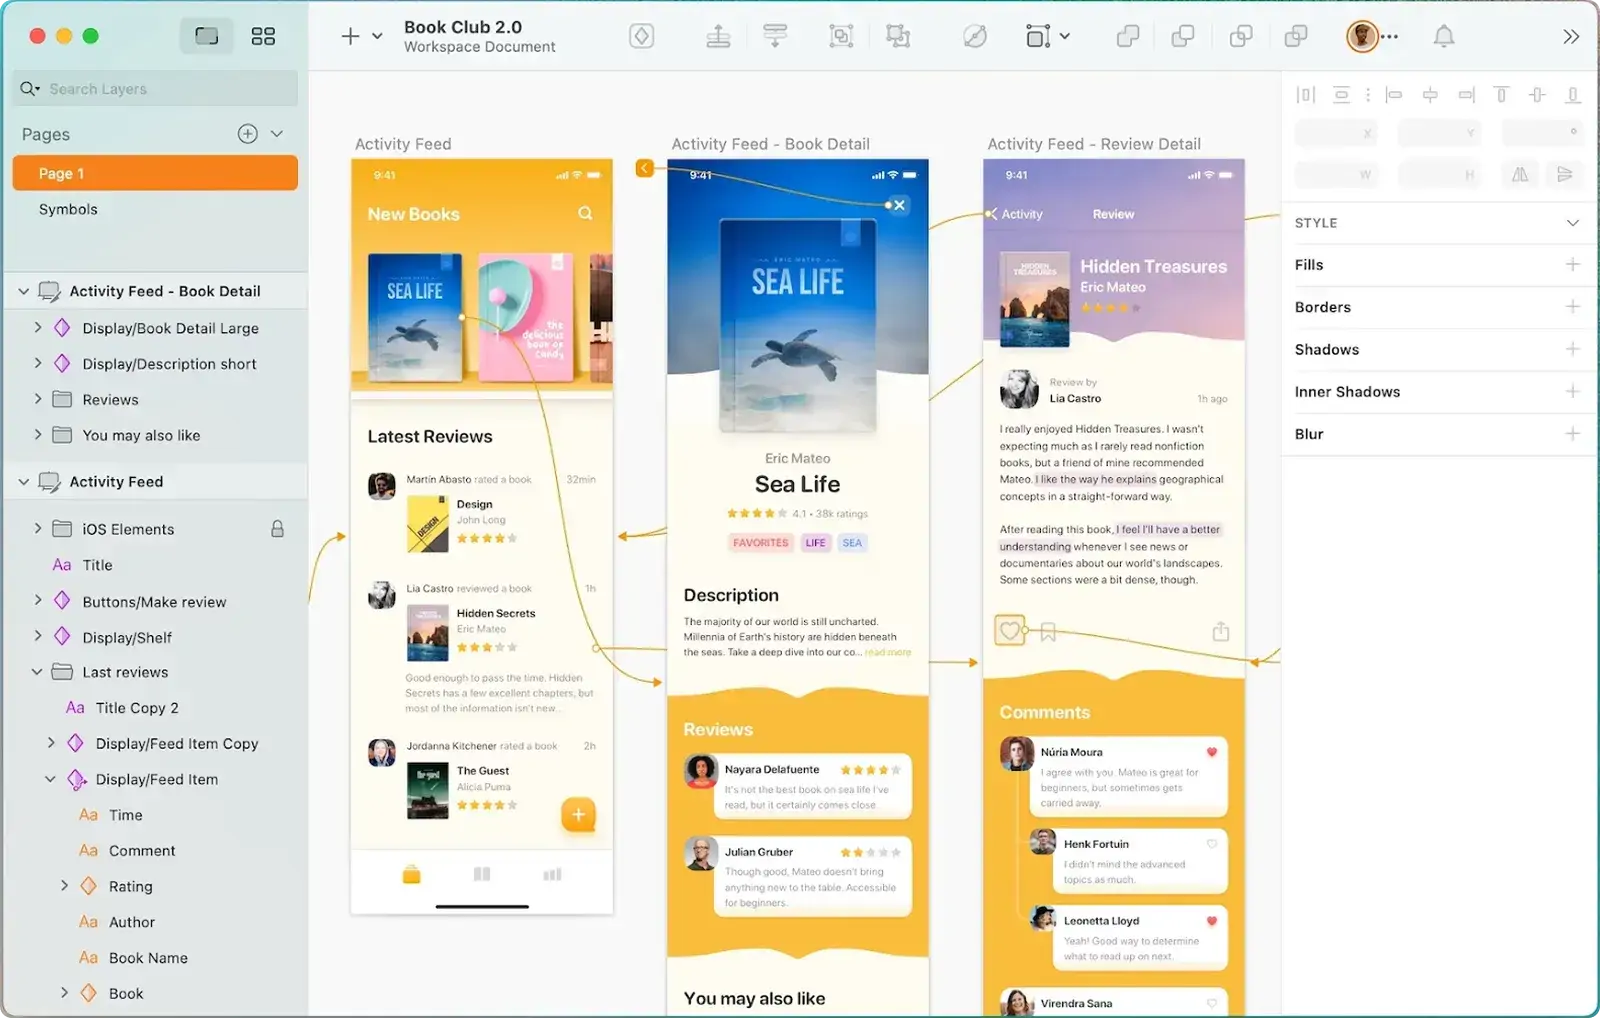
Adjust the prototype so that it appears as realistic as possible by adding detail, colors, and typography. You can also include interactions and use Components together with Auto Layouts for improved efficiency and coherence.
Step 5: Test and Refine
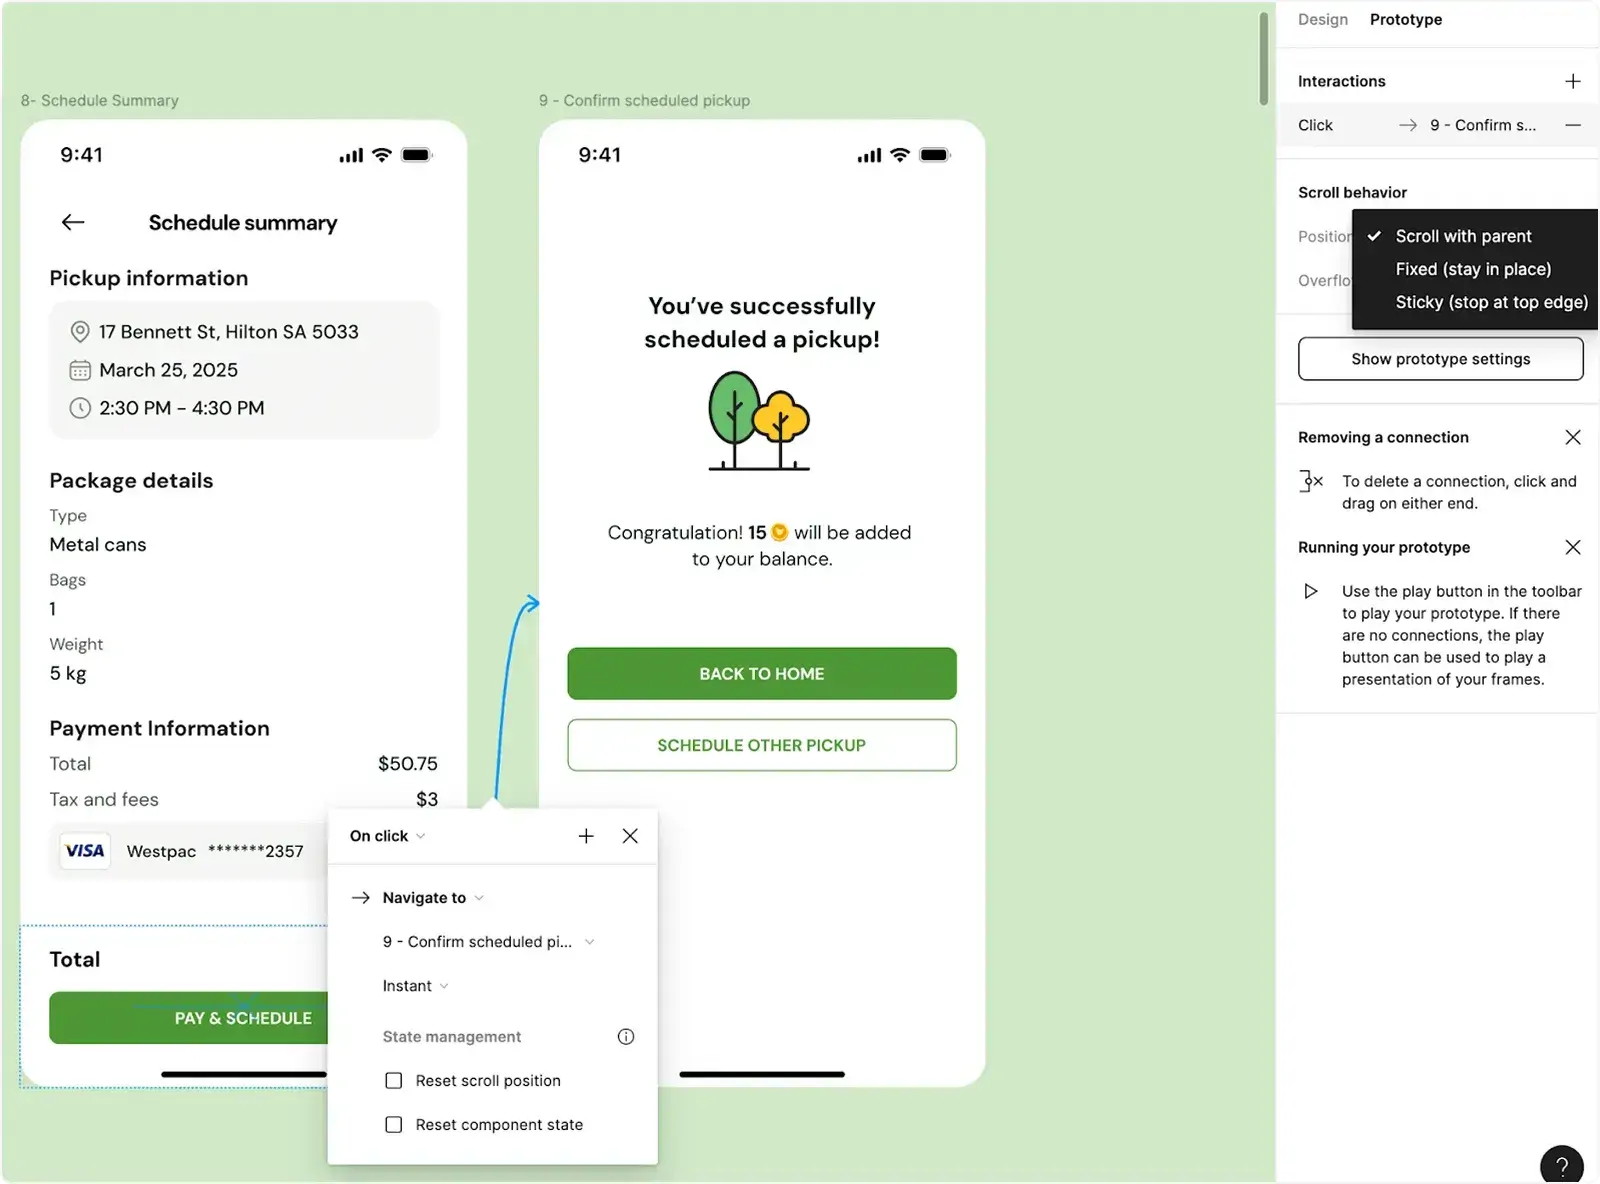
Conduct usability testing to identify areas for improvement. Figma’s Interactive Prototyping allows you to create clickable, animated prototypes for user testing.
Tips for Using Figma
- Components: Create reusable elements like buttons and icons to maintain consistency.
- Auto Layout: Automatically adjust the size and spacing of elements for responsive designs.
- Plugins: Explore Figma’s plugin library to enhance functionality, such as by adding icons, charts, or animations.
Things to keep in mind
When creating low-fidelity prototypes, you need to remember “ less is more”. Instead of replicating the entire product, focus only on the key user flows or features you need to validate, which saves time and keeps feedback targeted. Prototyping is an iterative process, not a one-time task; each version should build on previous learnings and refine the design.
Conclusion
Before the development of a product starts, it is essential to employ a final prototyping stage to receive feedback. Whether you’re creating a low-fidelity wireframe or a high-fidelity interactive model, tools like Figma make the process efficient. By following the steps outlined in this guide, you can design prototypes effectively and bring your ideas to life. So, what are you waiting for? Start prototyping today!
References
https://medium.com/design-den/5-best-prototyping-tools-in-2025-0112fb9d44db
https://uxdesign.cc/why-you-should-bring-prototyping-into-your-design-process-fb25b679accb
https://medium.com/design-bootcamp/effective-prototyping-in-figma-afdc88f39c0e